GUI Description
The epc670 Starter Kit GUI is automatically started (unless disabled) when booting up. It contains the most common settings to try it out.
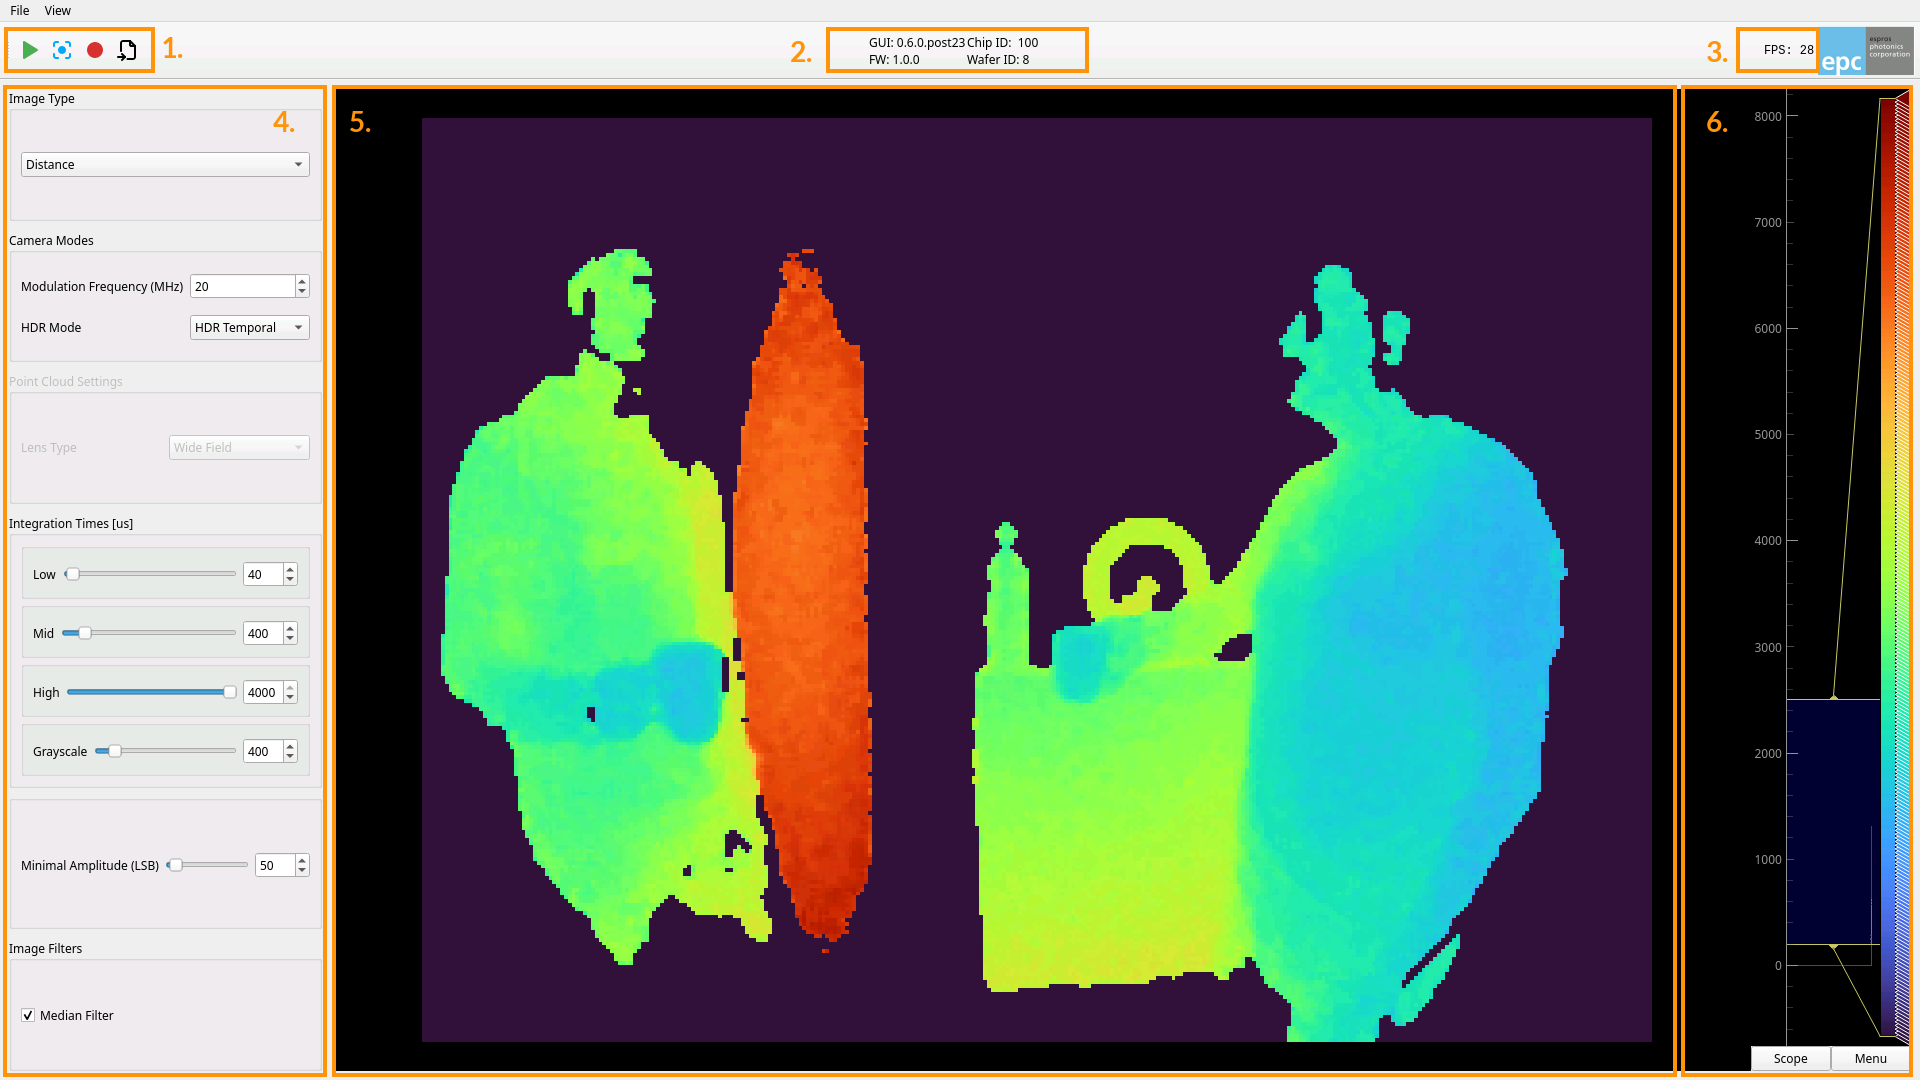
tofcam670
General Description
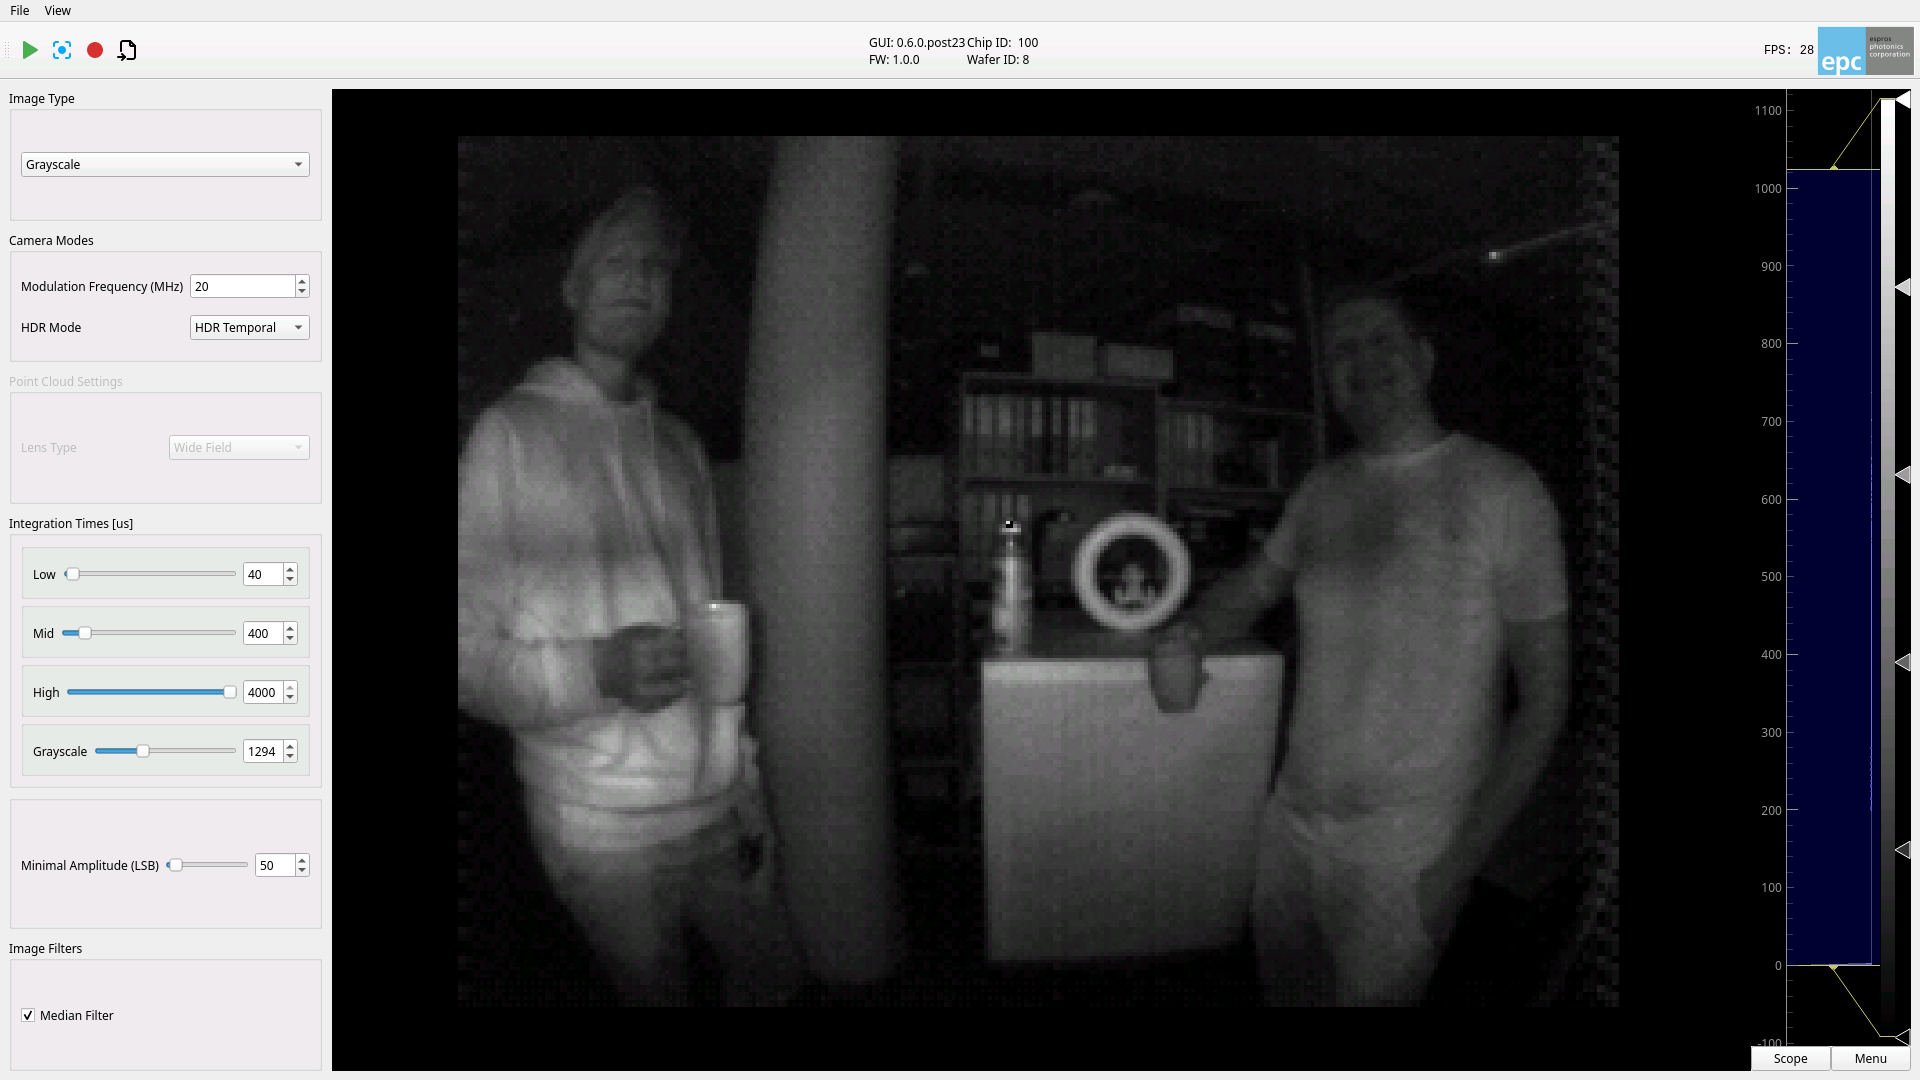
Toolbar for Start/Stop streaming and capture single images
Version information’s for GUI, TOFcam and tof chip
Current GUI Framerate
Acquisition mode and settings
Real time display
Display range selector and histogram
Hotkeys
Hotkey |
Description |
|---|---|
Spacebar |
Toggle stream off/on |
Ctrl + Q |
Quit application |
Ctrl + F |
Toggle Fullscreen |
Mouse Controls
Use the mouse on the real time display or the range selector to pan, zoom and access other menu items.
Aquisition Modes and Controls
Image Type
The epc670 can provide multiple image types:
Type |
Description |
|---|---|
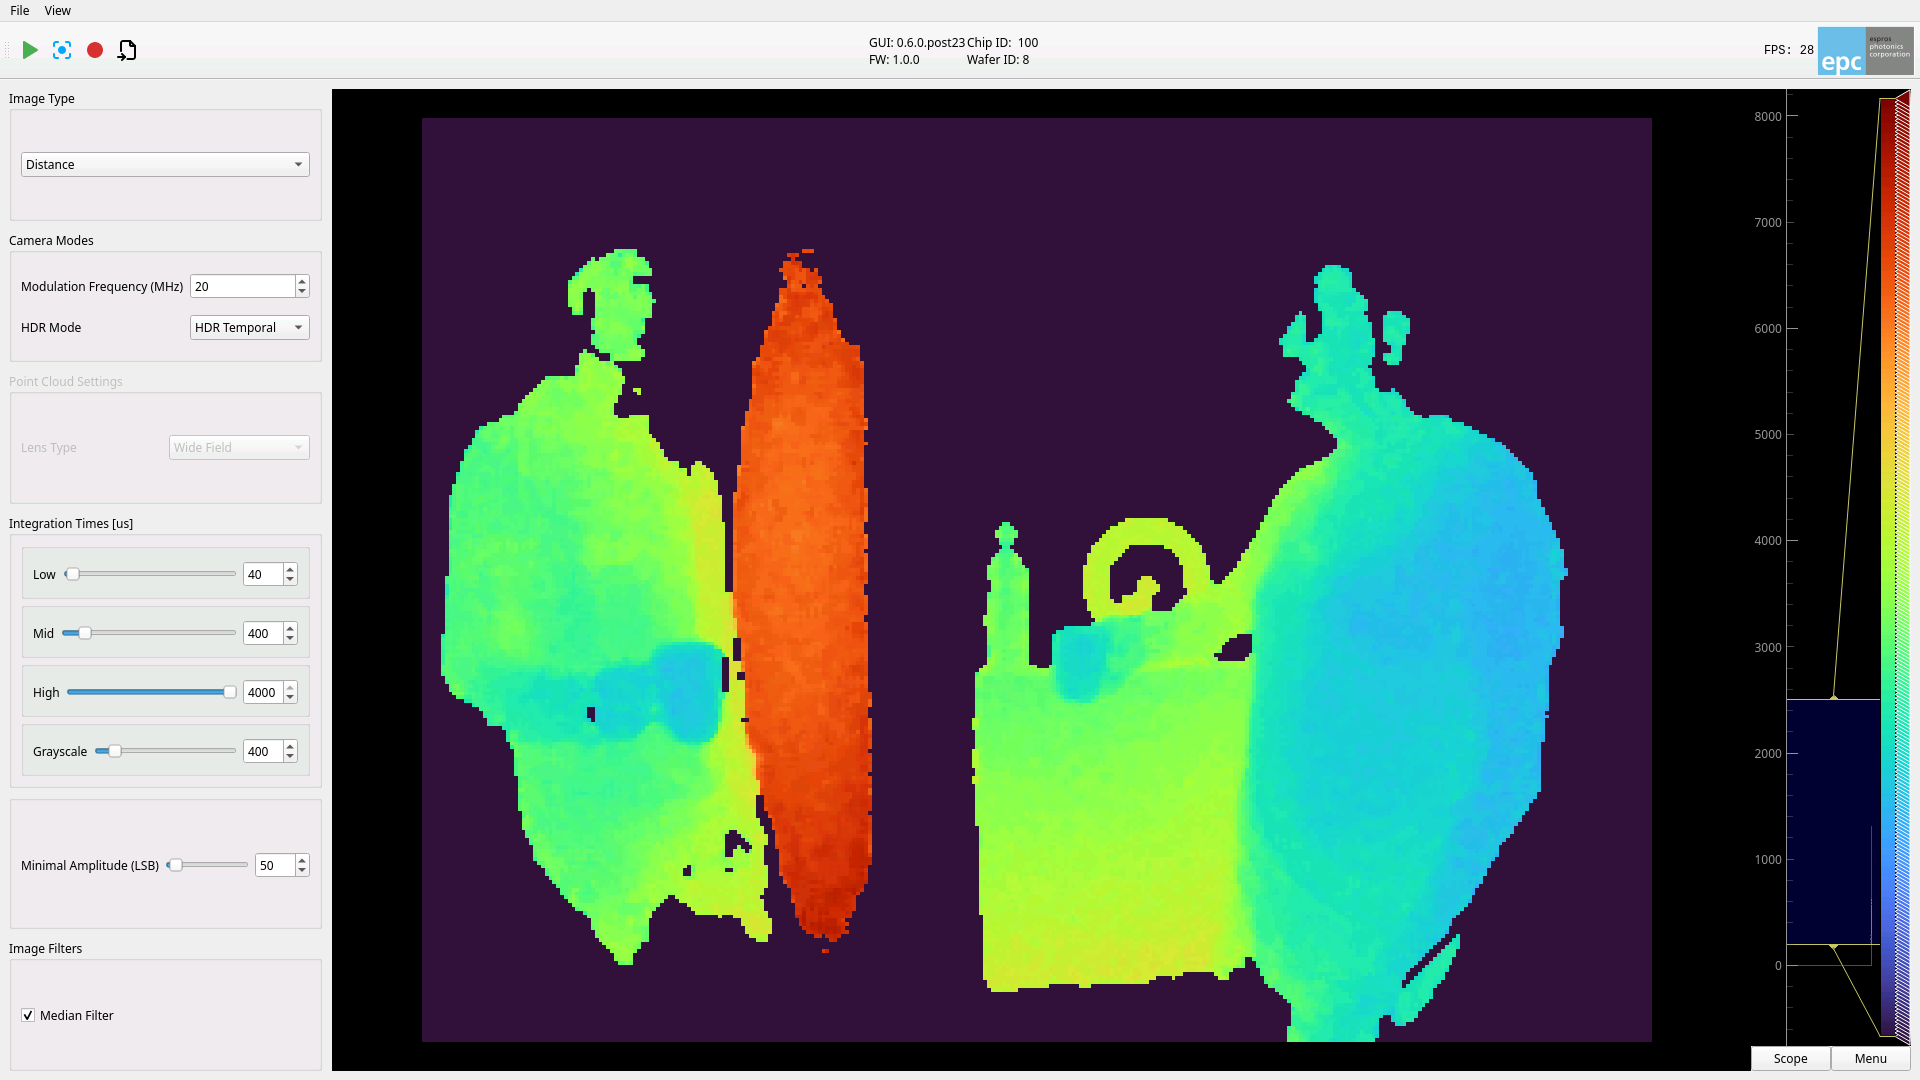
Distance |
2-D image where a pixel value is the distance |
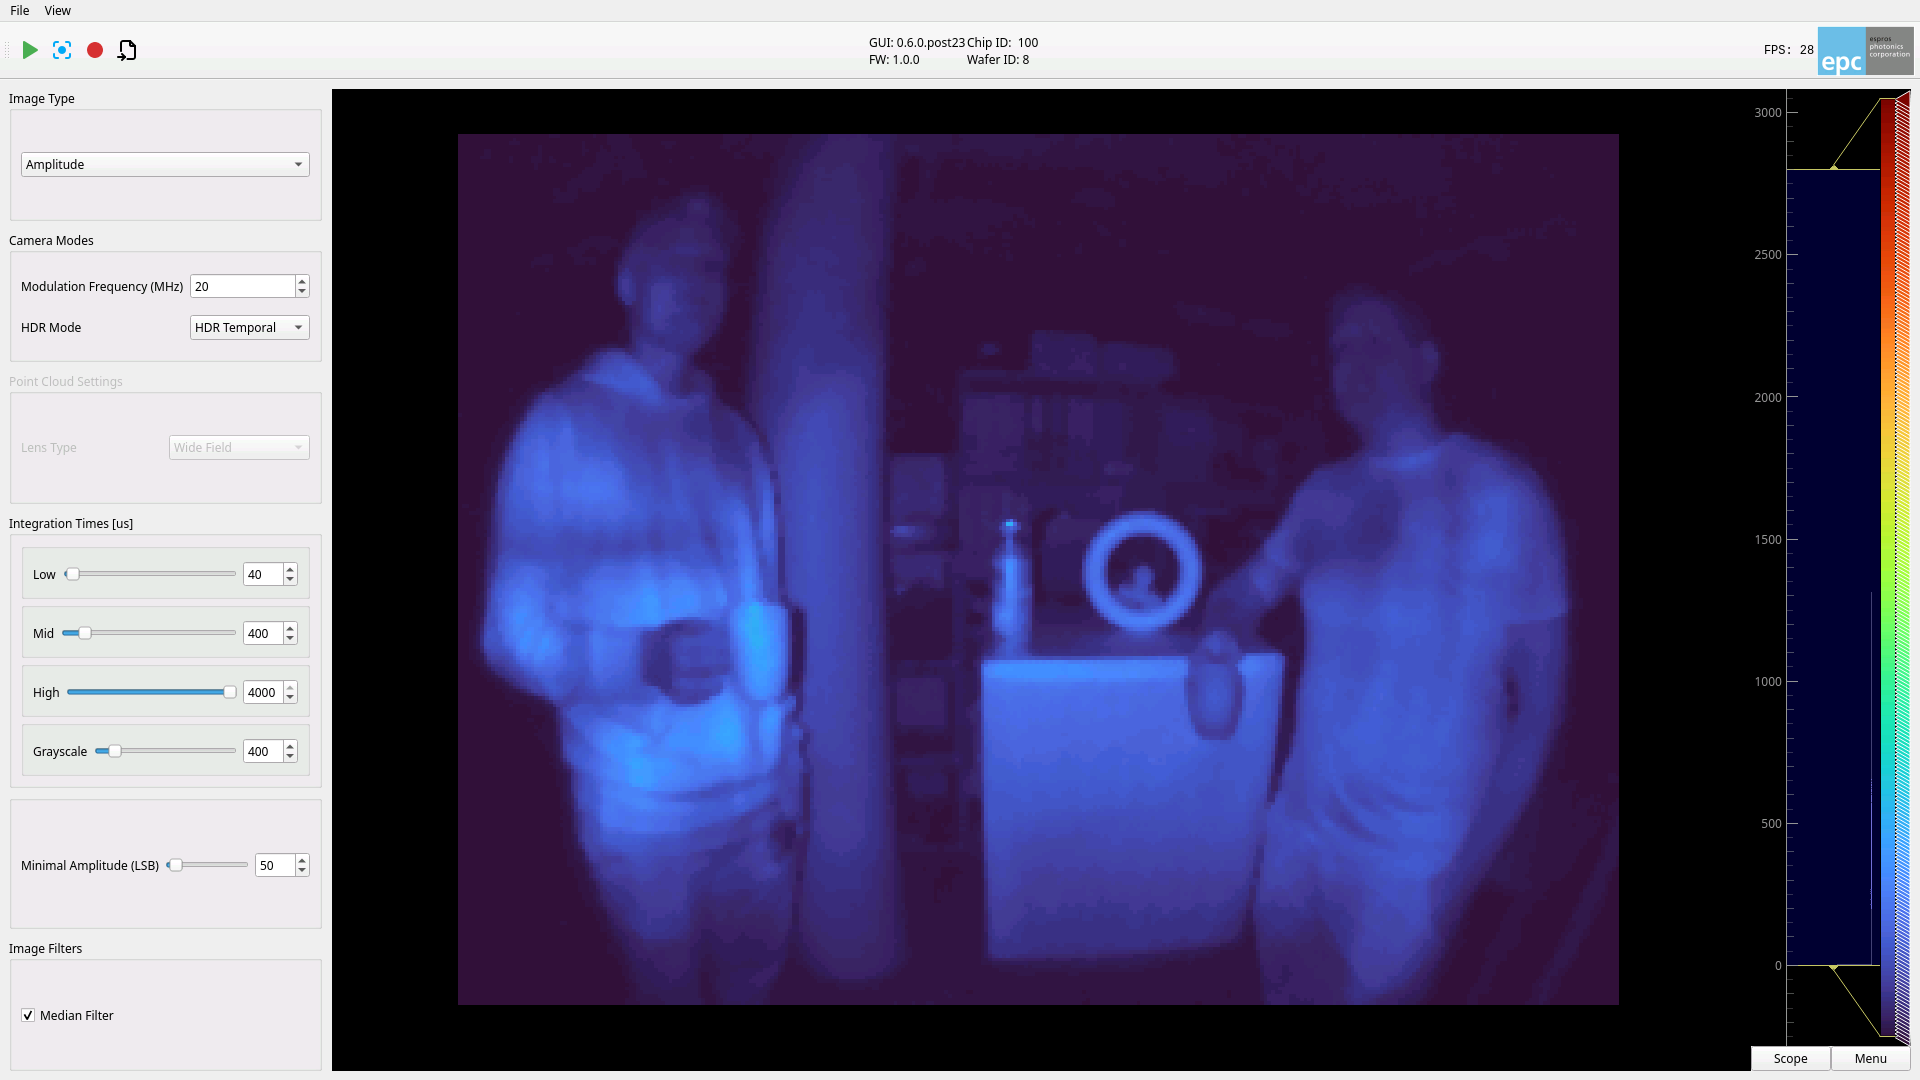
Amplitude |
2-D image where a pixel value is the signal strength. A higher amplitude will have less distance noise |
Grayscale |
2-D image where a pixel value is the light intensity (no active illumination) |
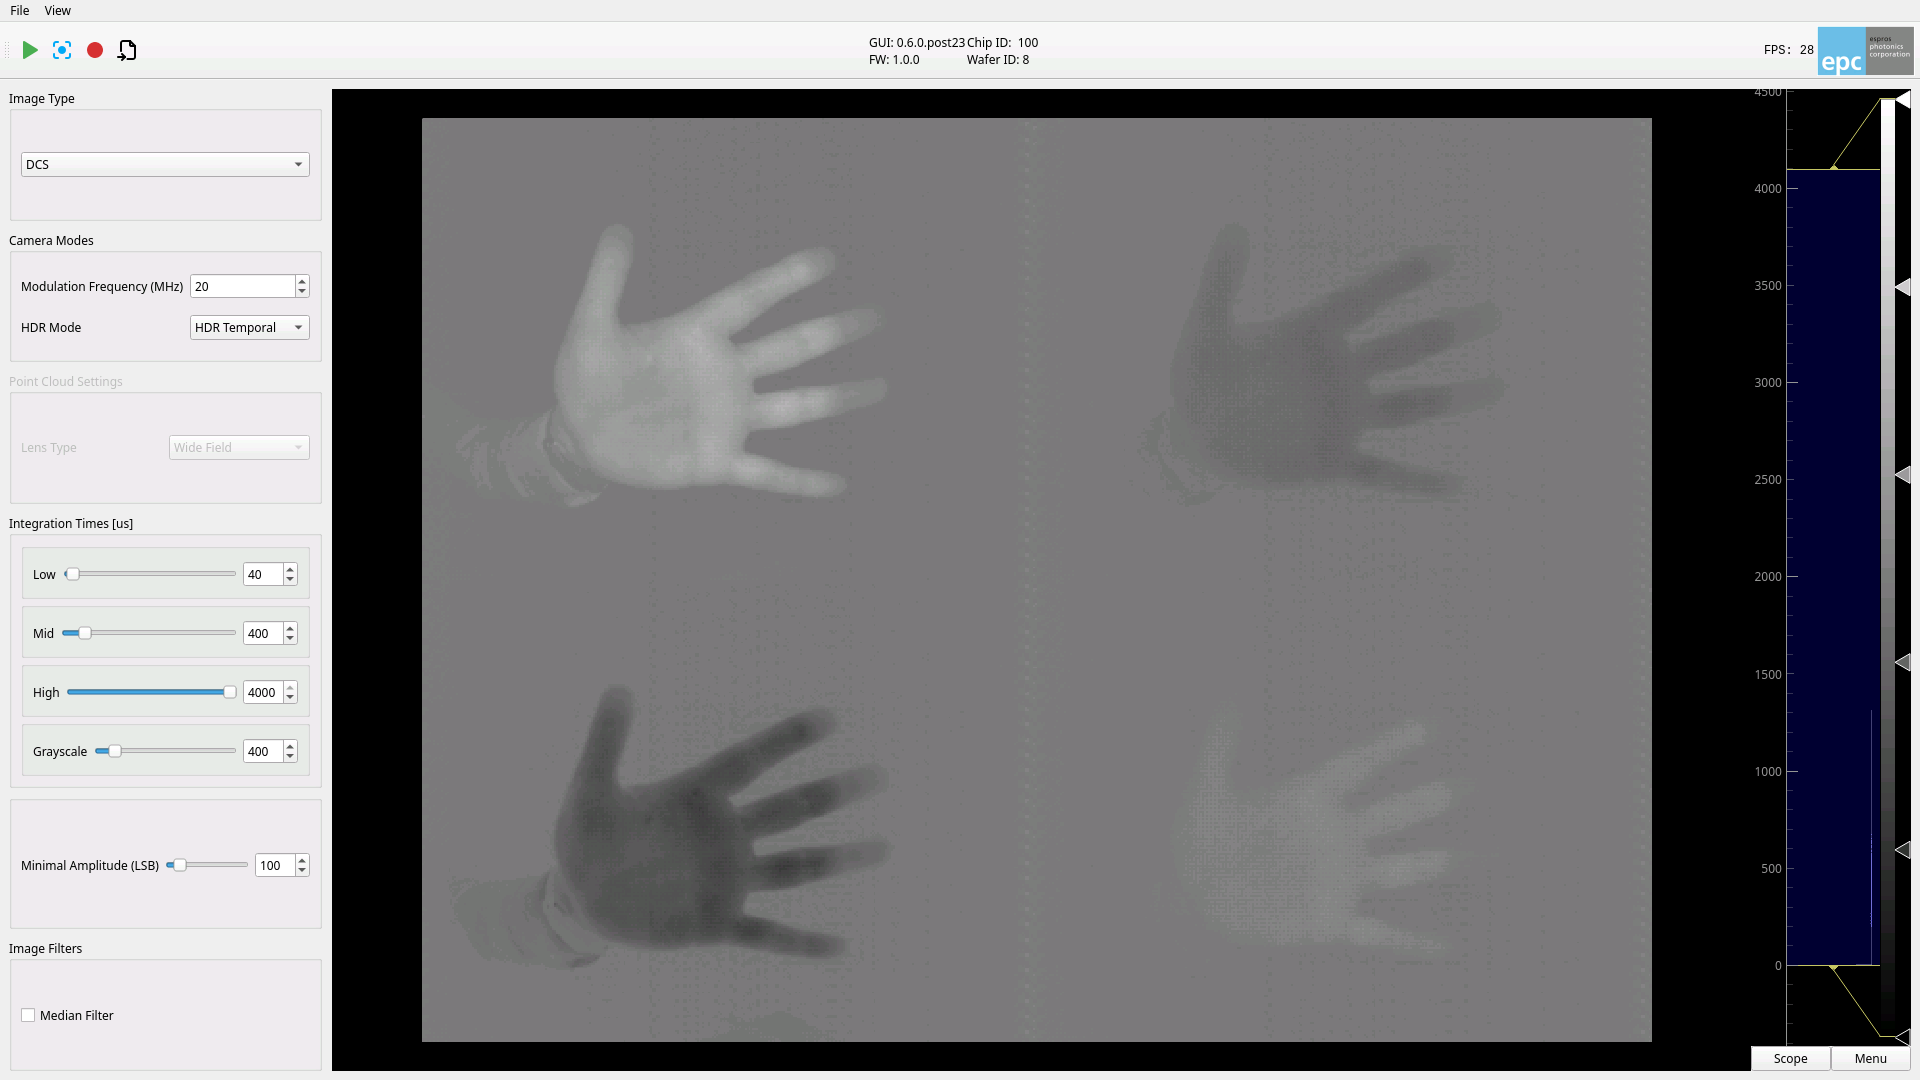
DCS |
2-D image of the individual DCS images. |
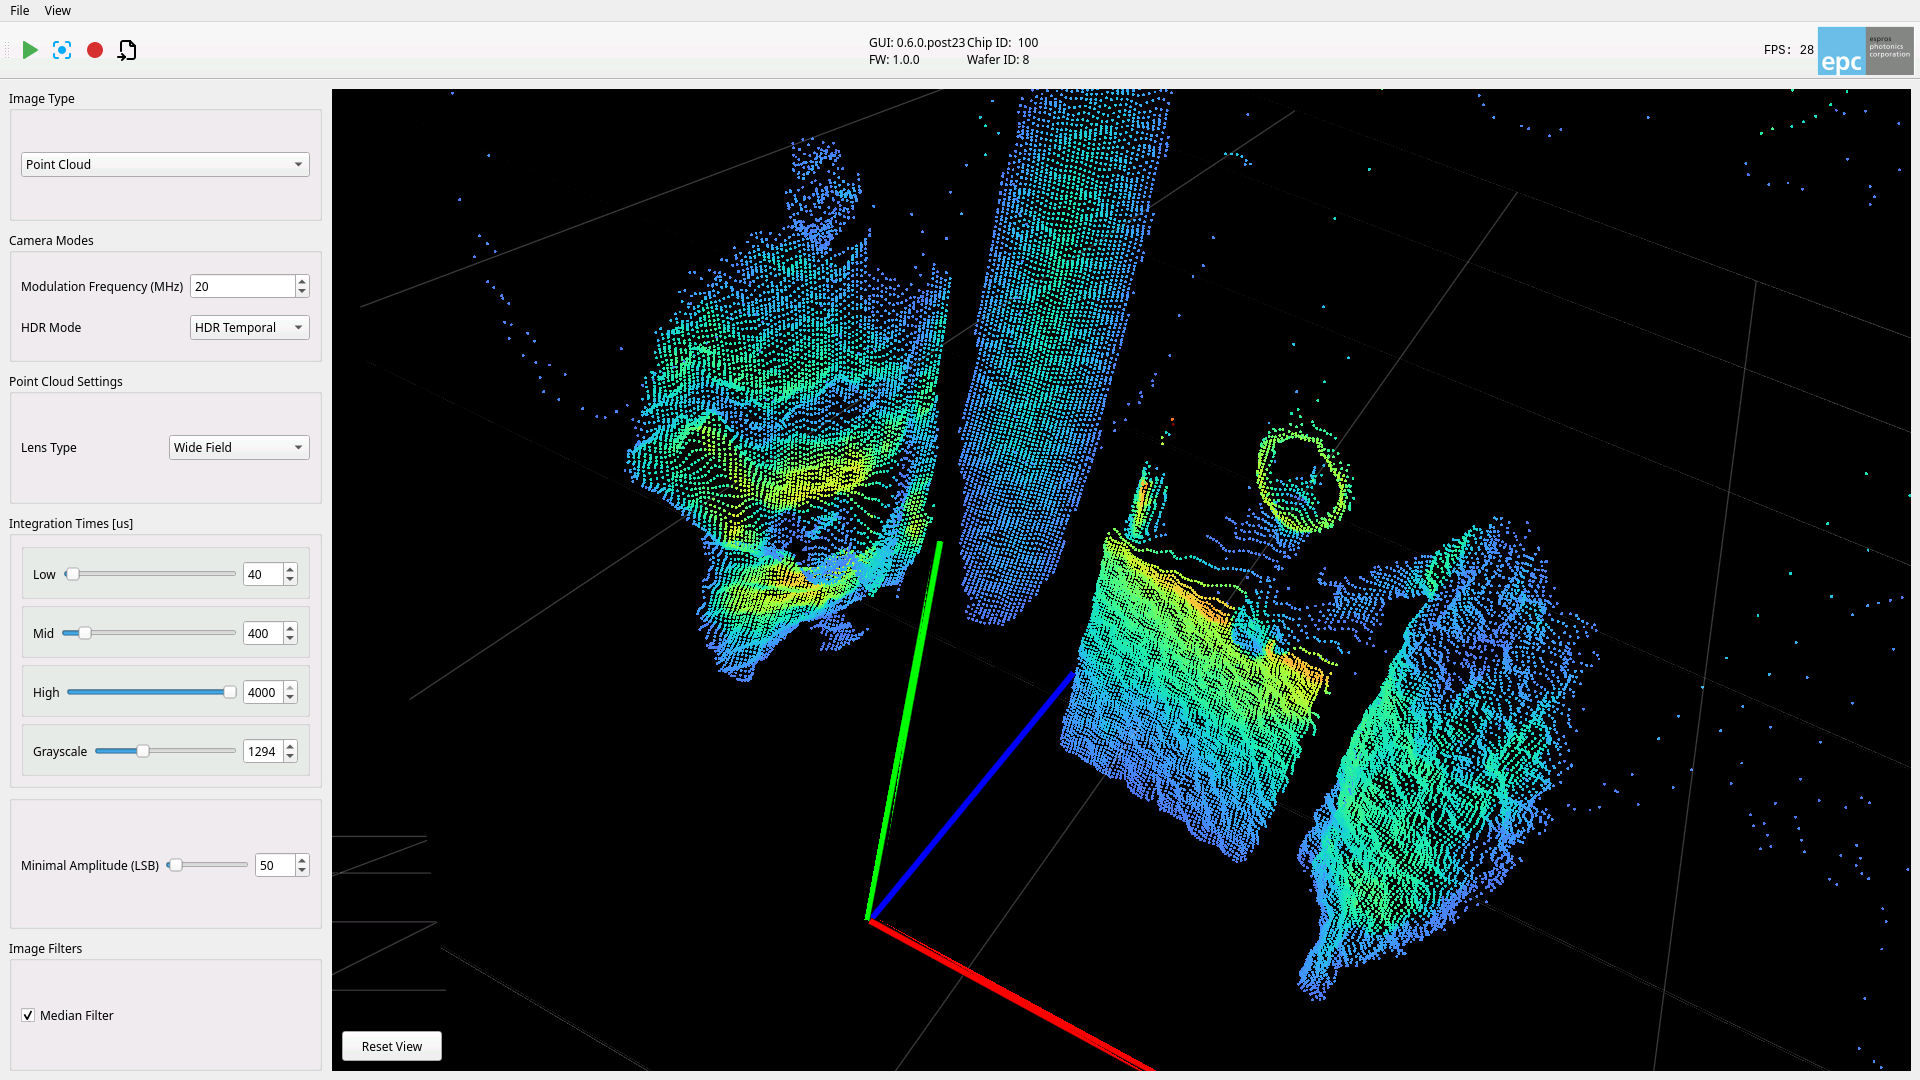
Point Cloud |
3-D image where the distance image is projected into a 3-d space, relative to the camera. |
Camera Modes
Modulation Frequency
The modulation frequency determines the 3-D range and the accuracy of the camera. Following formula applies:
The range is roughly inverse proportional to the noise.
HDR Mode
HDR Mode |
Description |
|---|---|
No HDR |
Distance image calculated with 4 DCS frames with one integration time for all |
Temporal HDR |
Distance image caluculated with 12 DCS frames with an integration time for each group of four DCS frames |
Note
To achieve the highest frame rate, “No HDR” should be selected and the integration time < 50 us you will reach > 150 fps. With an integration of 800us, > 100fps may be achieved.
Point Cloud Settings
When using the “Point Cloud” Image Type the 2-D image gets projected into a 3-D space. During this projection the lense distortion gets calibrated out so that the points in the point cloud match the reality. The starter kit comes with a “Wide Field” lens. Therfore select this one if it is not already set.
Integration Times
The integration time refers to duration which the pixels capture light. By increasing integration time you will increase the signal strength. This comes at the cost of blur effects and frame rate - which is inversely proportional to (integration + readout) time.
The different integration time settings are used as follows:
Setting |
Condition |
Functionality |
|---|---|---|
Low |
No HDR |
Set the integration time for distance, amplitude and point cloud |
Temporal HDR |
Set the 1st integration time for distance, amplitude and point cloud |
|
Mid |
No HDR |
No effect |
Temporal HDR |
Set the 2st integration time for distance, amplitude and point cloud |
|
High |
No HDR |
No effect |
Temporal HDR |
Set the 3rd integration time for distance, amplitude and point cloud |
|
Grayscale |
No HDR |
Set the integration time for grayscale |
Minimal Amplitude
The min. amplitude sets the condition at which a pixel is blacked out in the distance image or not projected in the point cloud image.
Image Filters
Image filters can be selected and applied to the image before displaying it. The filters are applied for each pixel after a 3x3 grid operation around it.
Filter |
Description |
|---|---|
Median |
Take the median value |
TOFcam Console
When you click on View -> Show Console the following iPython console opens. You can use it to explore the epctofcam library Python API and set additional parameters.