Getting Started
This page shows how to set up the starter kit upon first unpacking to set it up and be able to acquire the first images.
Preparations
Make sure you have the following ready for access:
epc670 Starter Kit
Official Raspberry Pi 5 Power Supply (27 W USB-C)
μHDMI cable or HDMI cable + μHDMI adapter
Display/TV with HDMI input capability (not supplied)
Bring Up Device

Connect display/tv to epc670 starter kit using a μHDMI cable
Ensure display is powered
Ensure display has the right HDMI source selected
Connect power supply to epc670 starter kit USB-C connector
Wait for boot-up sequence to complete until TOFcam-670 GUI appears (approx. 20s)
Watch the epc670 starter kits red status led light up.
Enjoy the Distance video stream!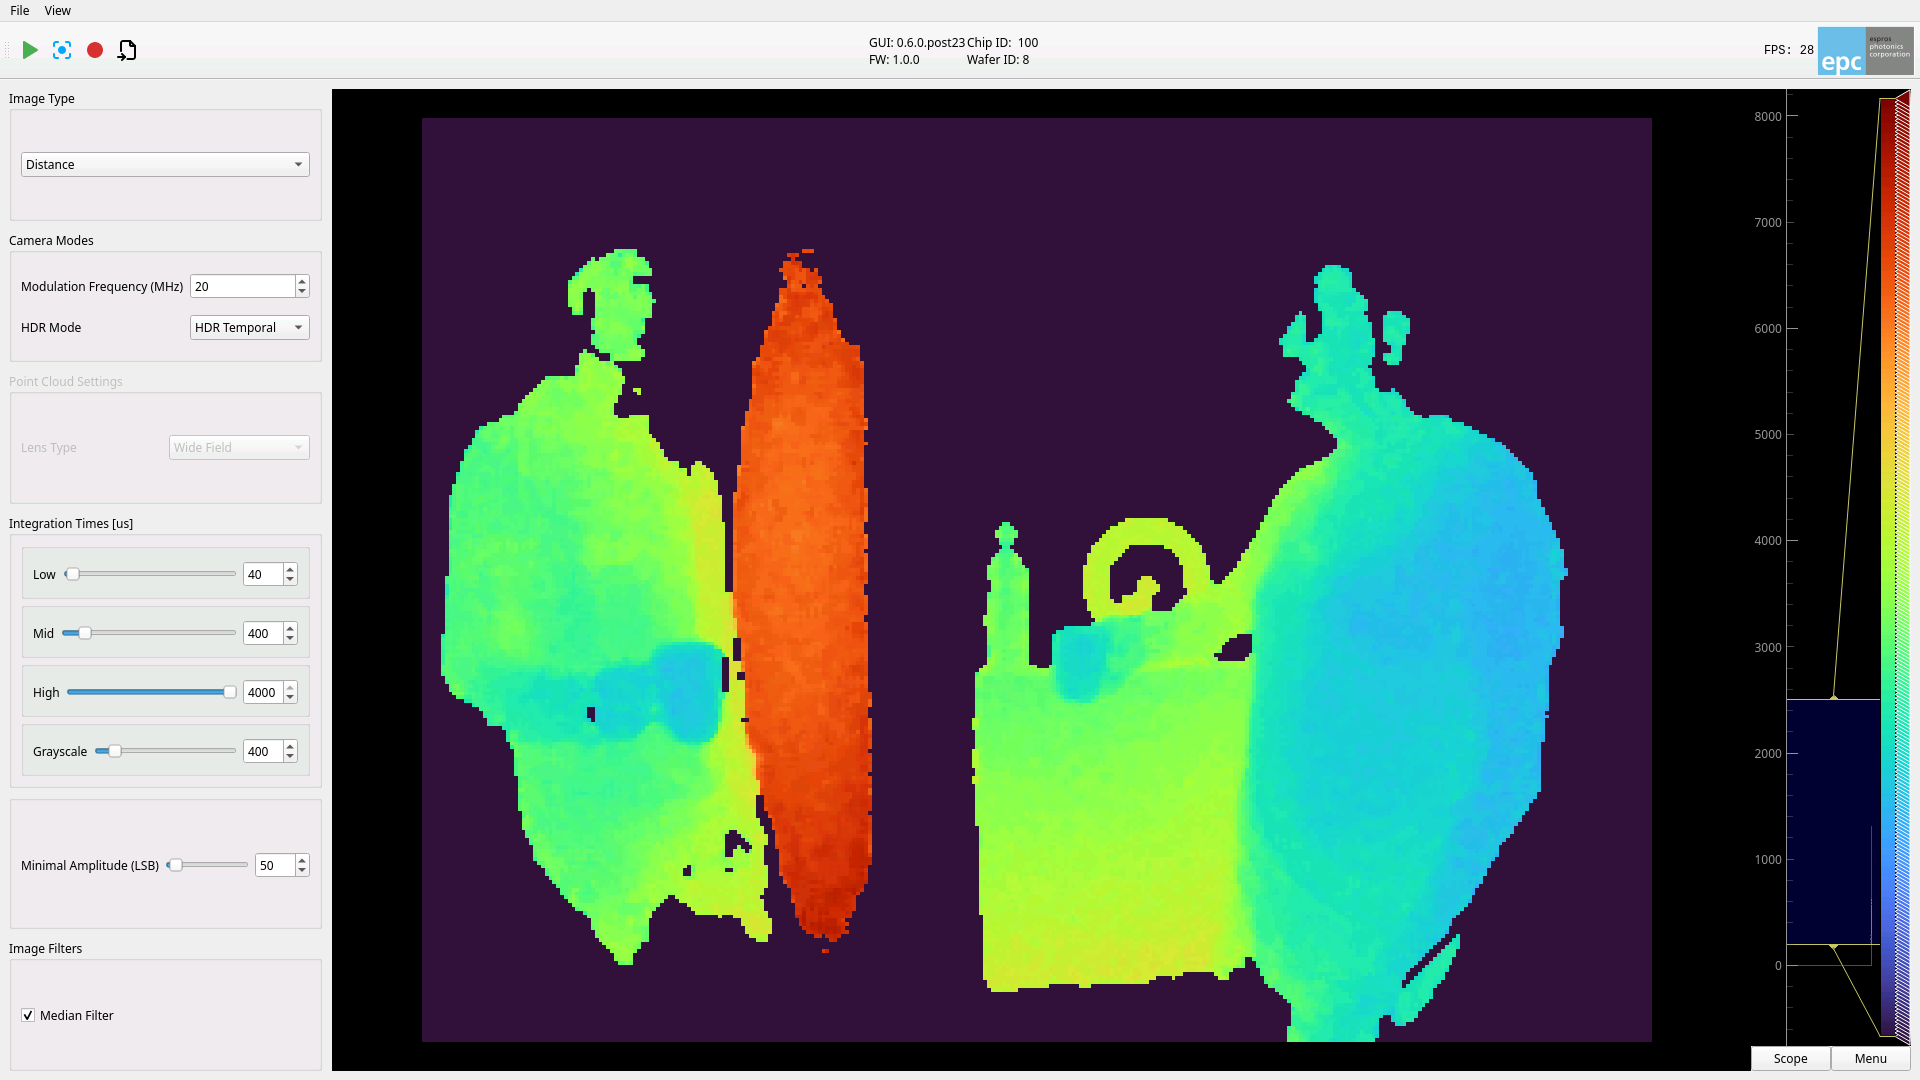
Note
The default keyboard is set to US-layout
What’s Next
The starter kit provides several entry points to try out our sensor!
Learn about the GUI in the GUI Description
Update your packages to ensure you have the latest features in the Update Packages user guide
Get acquainted with the system in the System Description
Get acquainted with the hardware in the Hardware Description
Rapid development through Python: Refer to the epctofcam library Python API
Advanced application development: Look up the epctofcam library C++ API
Power Down
Ensure all applications are closed
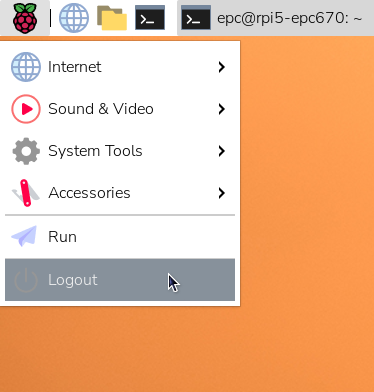
Click “Logout…”
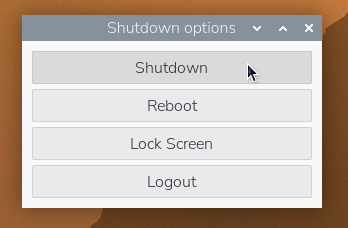
Click “Shutdown”
Wait until Raspberry Pi status LED is constant RED
Unplug Power Supply
Note
The sequence above is recommended to shutdown safely. Unplugging the power supply at any time should not damage the device or corrupt the internal memory.
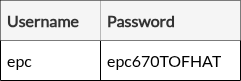
Credentials
Warning
We strongly recommend change the password to a personalized one for security before connecting to the internet.
There is no way to recover a password. Re-flashing an image would be required to use the epc670 starter kit fully.
Note
The credentials will be needed for:
SSH login
SW update
Superuser access