TOFcam GUI’s
General Overview
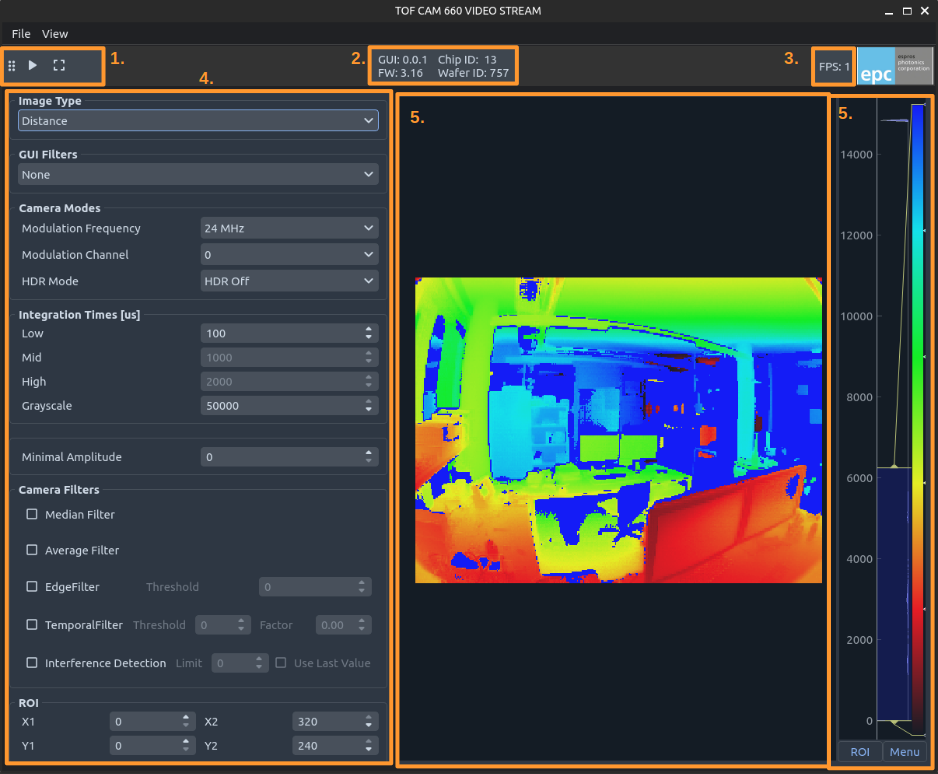
While each ESPROS TOFcam implements there own control settings, the gui is structured the same for all of them.
Toolbar for Start/Stop streaming and capture single images
Version information’s for GUI, TOFcam and tof chip
Current Framerate
TOFcam control settings
Image Viewer
Histogram and range selector
TOFcam console
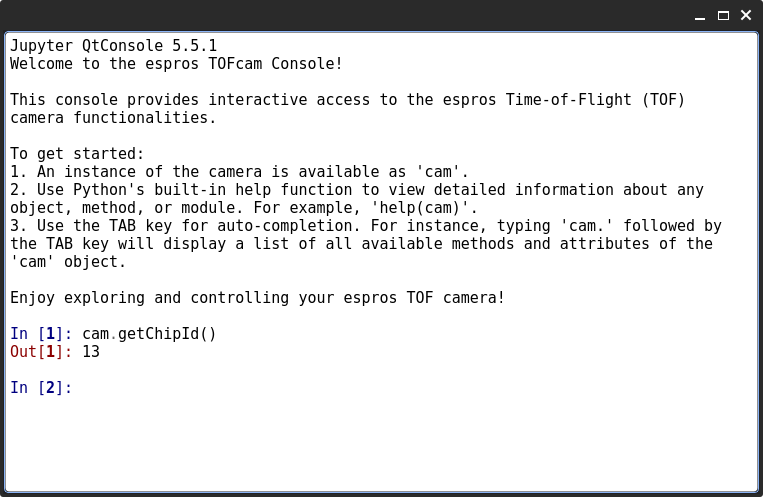
When you click on View/Console the following iPython console opens. You can use it to explore the TOFcam API and set additional parameters.
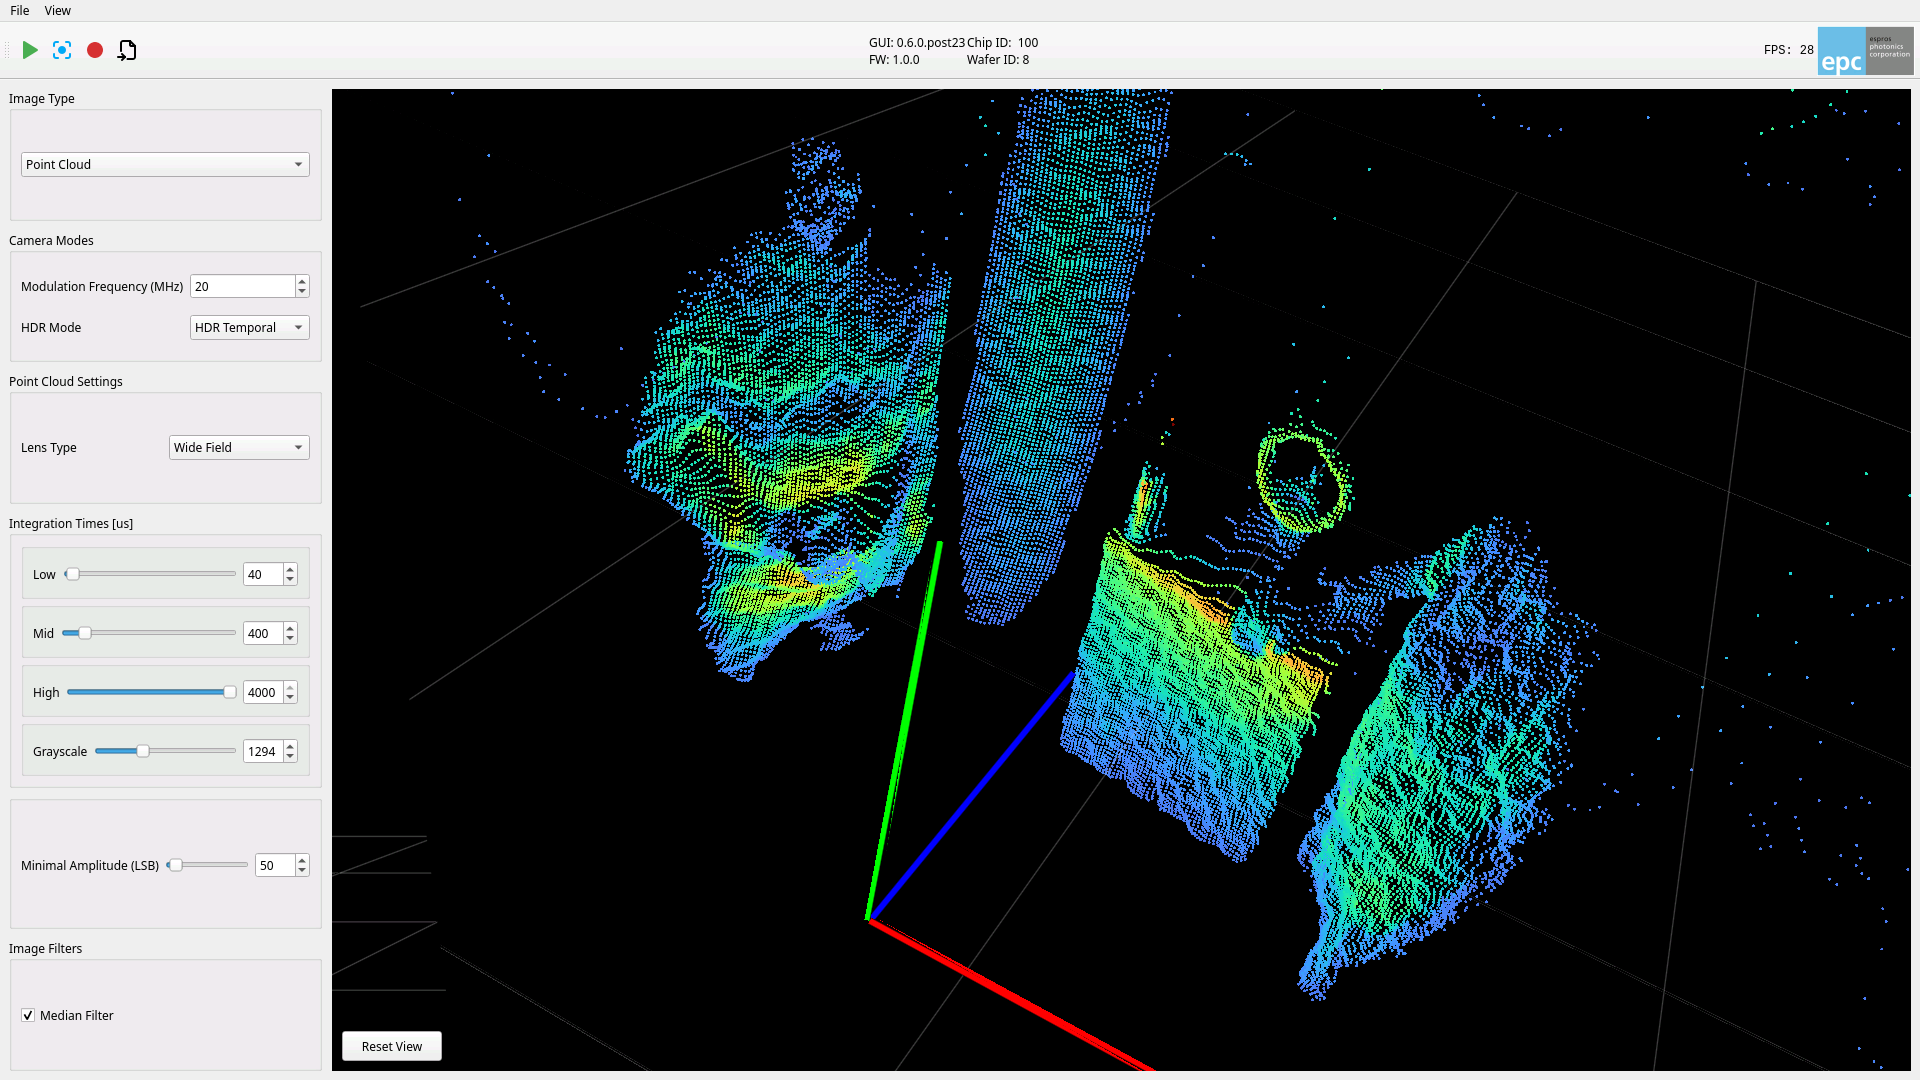
GUI-TOFcam670
The GUI for the epc670 Starter Kit and the epc670 ToF HAT+ can be run either on the camera itself (e.g. the Raspberry Pi), or on separate machine within the same network. Depending on which method you choose, the installation requirements will differ.
Running GUI-TOFcam670 locally
Before launching it, install all required local dependencies by including the optional native extras when installing epc-tofcam-toolkit.
pip install "epc-tofcam-toolkit[gui,native]"
After installation, run the following command in your terminal:
tofcam670
Running GUI-TOFcam670 remotely
Before you can connect to your epc670 Starter Kit or your epc670 ToF HAT+ remotely, you will need to make sure the server-side software is installed and running on your camera. On newer versions of the epc670 Starter Kit, the server will run automatically on startup. Otherwise, you will need to install the epc-tof-studio python package on your camera and follow the instructions there to start the server.
Once the server is running, you can connect to it from any machine in the same network by providing the cameras ip address using the --ip option (replace 10.10.31.180 with the ip address of your camera):
tofcam670 --ip 10.10.31.180
GUI-TOFcam660
Make sure the camera is running and has a stable ethernet connection.
Run the following command in your terminal.
tofcam660
This will open the GUI application for TOFcam660. By default it tries to connect to the default ip address (10.10.31.180). You can specify the ip address in case your ip differs from the default one.
tofcam660 --ip 10.10.31.180
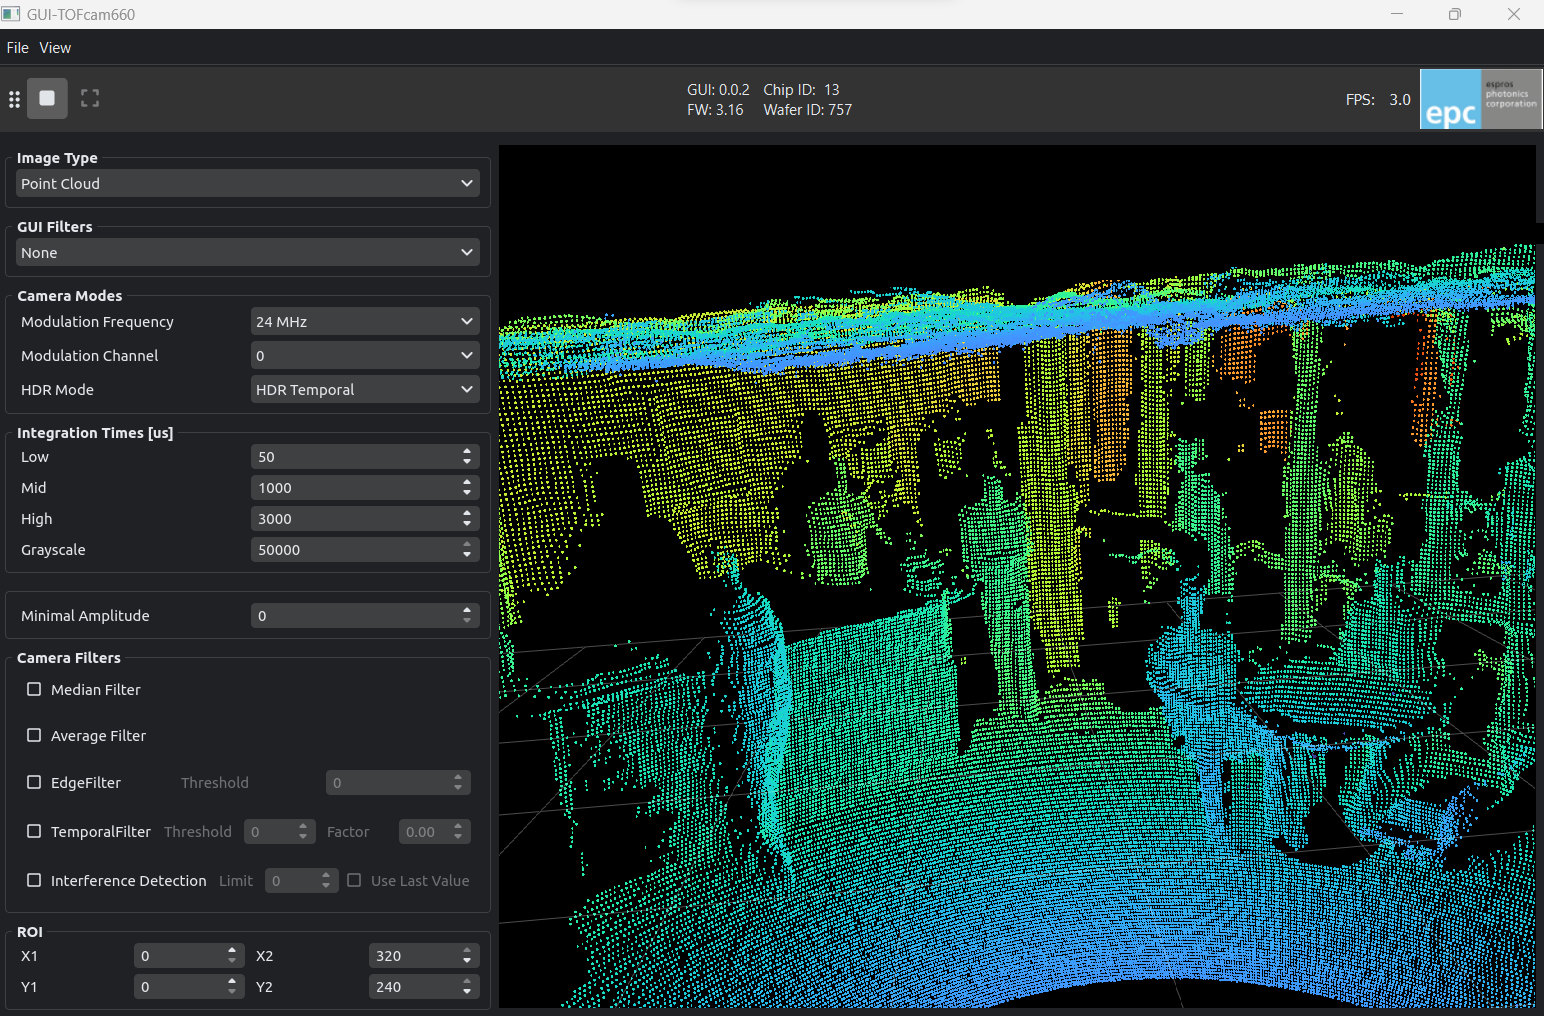
GUI-TOFcam635
Make sure the camera is running and has a stable serial connection.
Run the following command in your terminal.
tofcam635
This will open the GUI application for TOFcam635. By default the camera tries to find the serial port automatically.
You can also specify the serial port.
# e.g. windows connected on COM3
tofcam635 --port COM3
# e.g. linux/mac connected on ACM0
tofcam635 --port /dev/ttyACM0
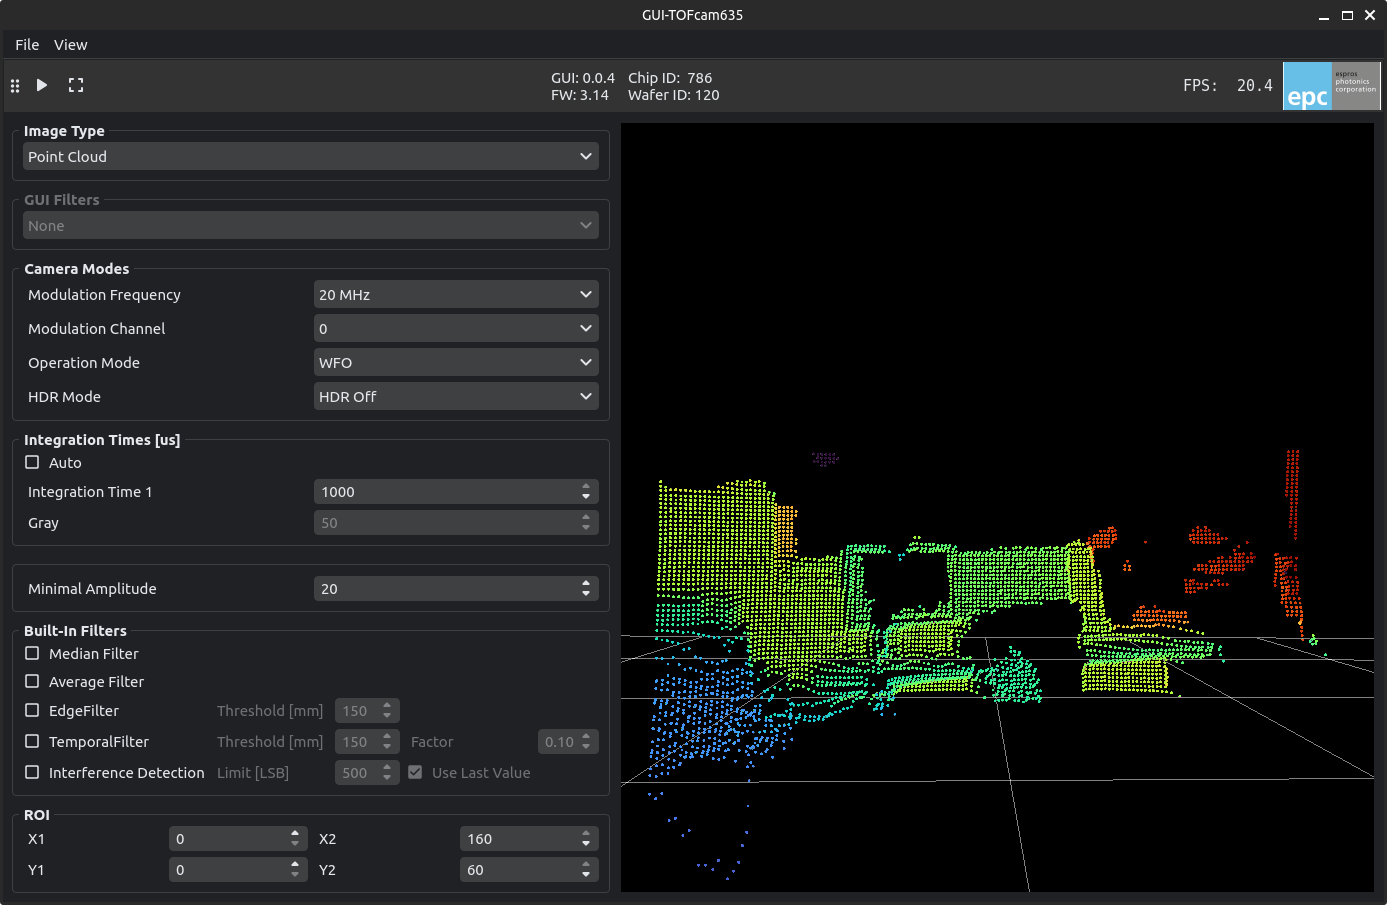
GUI-TOFcam611
Make sure the camera is running and has a stable serial connection.
Run the following command in your terminal.
tofcam611
This will open the GUI application for TOFcam611. By default the camera tries to find the serial port automatically.
You can also specify the serial port.
# e.g. windows connected on COM3
tofcam611 --port COM3
# e.g. linux/mac connected on ACM0
tofcam611 --port /dev/ttyACM0
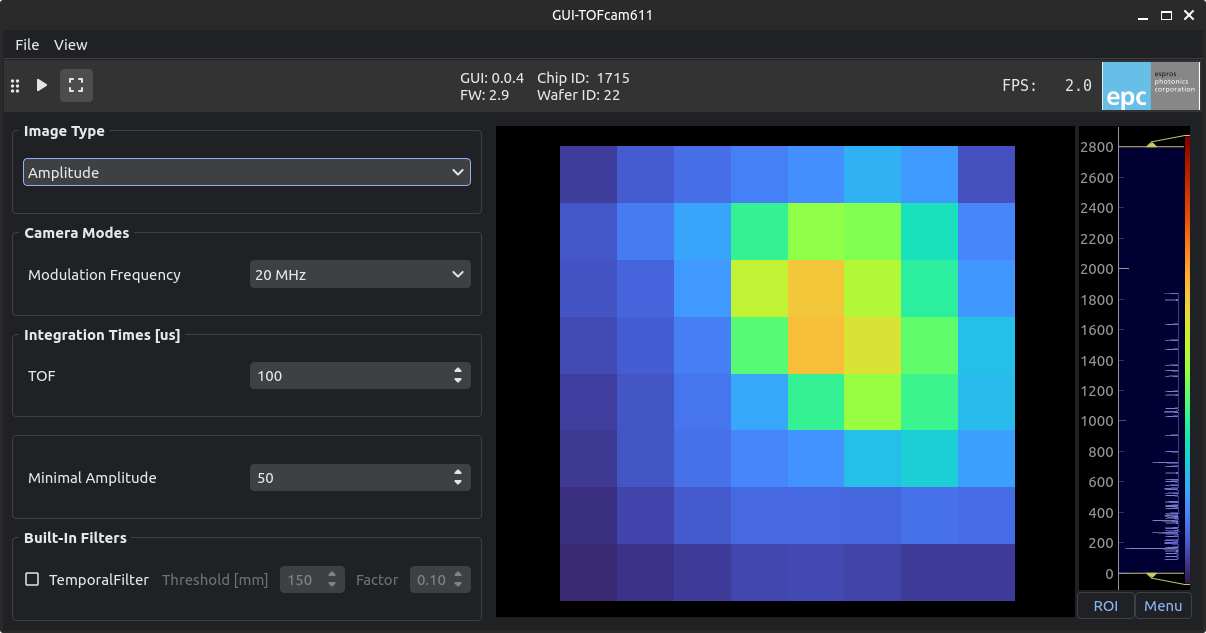
GUI-TOFrange611
Make sure the TOFrange611 is running and has a stable serial connection.
Run the following command in your terminal
tofrange611
This will open the GUI application for TOFcam611. By default the camera tries to find the serial port automatically.
You can also specify the serial port.
# e.g. windows connected on COM3
tofrange611 --port COM3
# e.g. linux/mac connected on ACM0
tofrange611 --port /dev/ttyACM0
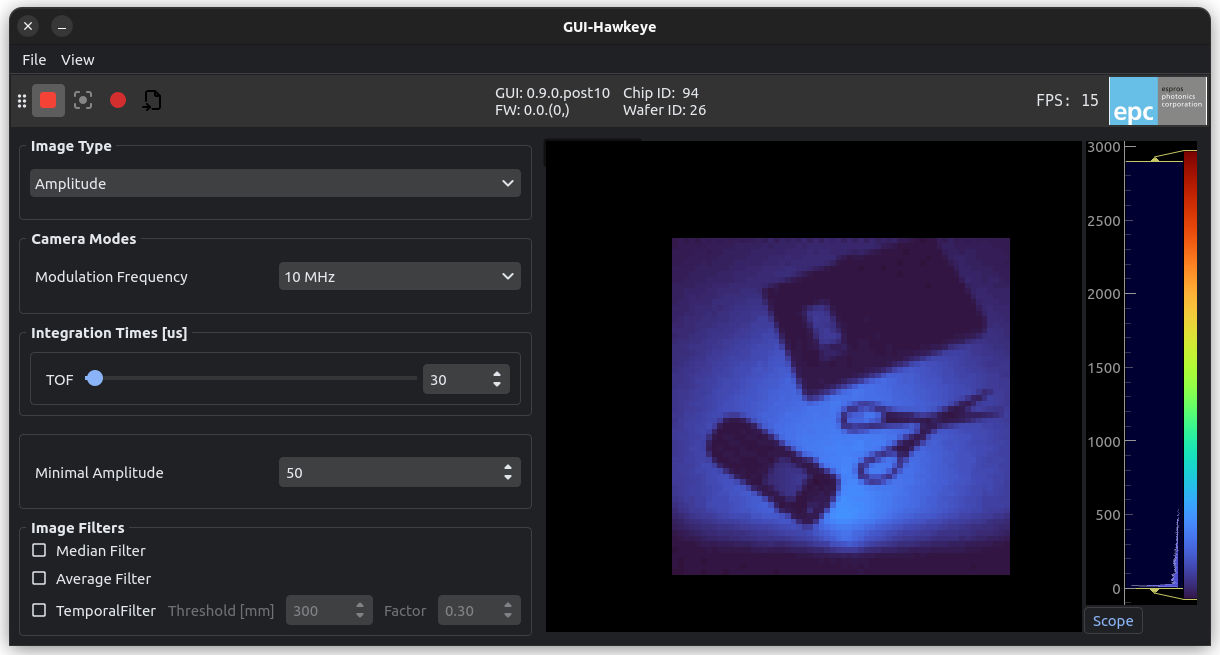
GUI-Hawkeye
The bluetooth connection is built upon Bumble. Whereas in Linux there is no extra step needed to communicate with the camera, Windows does need some steps. To use a Bluetooth USB dongle on Windows, you need a USB dongle that does not require a vendor Windows driver. In order to use the Bluetooth dongle, the driver needs to be exchanged in favor of WinUSB.
Connect a Bluetooth dongle
Prepare the system based on your platform
Power up the Hakweye
Run the following command in your terminal:
hawkeye
This will open the GUI application. By default the camera runs a scan to find the bluetooth devices nearby.
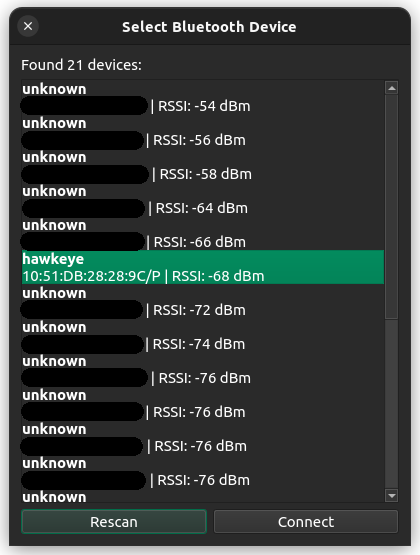
In case the MAC address is already known, one can pass it as argument:
hawkeye --mac "xx:xx:xx:xx:xx:xx"